演習
演習
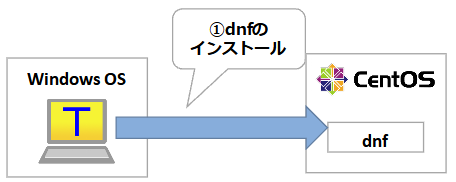
1. 事前準備(dnfのインストール)
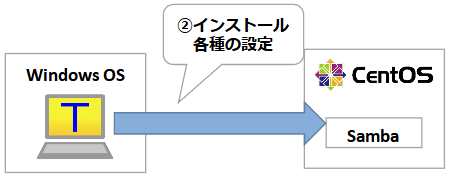
2. CentOSへのファイル共有の設定
3. エクスプローラからCentOSへ接続確認

dnfとは
これまで主要なパッケージ、ソフトウェアを扱う上で、パッケージ管理ツールであるyumコマンドを使用してきました。
ソフトウェアのダウンロードからインストール、削除、依存関係の整理など必要な作業を簡易的に実行できるからです。
この章ではパッケージ管理コマンドとして新しくdnfコマンドを使用します。
このコマンドは、CentOSにおけるyumの後継に該当するものです。
dnfのインストール
dnfコマンド関係のパッケージはデフォルトでインストールされていませんので、以下の手順でインストールします。
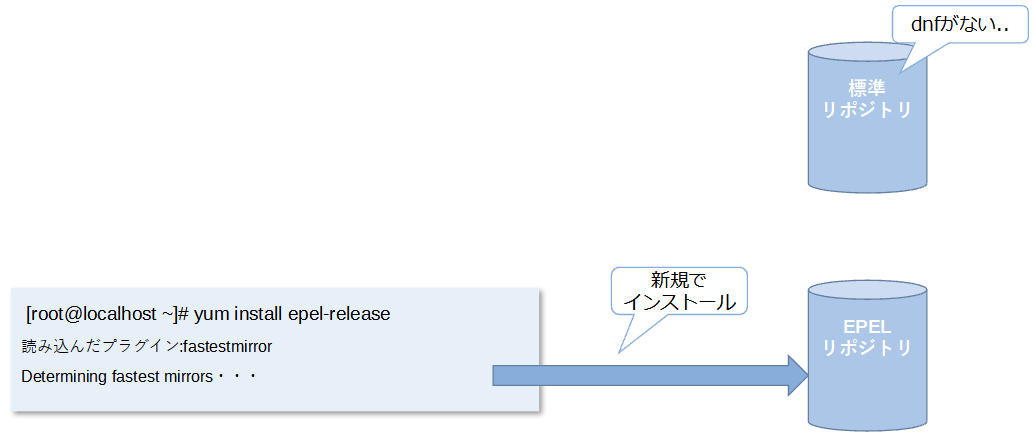
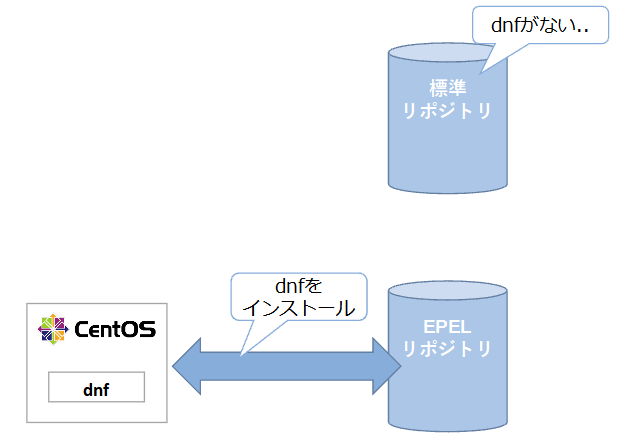
EPELをインストールします。
yumなどのパッケージ管理ツールでは、リポジトリというデータの貯蔵庫で扱っている
パッケージを操作の対象にすることができました。
EPEL(Extra Packages for Enterprise Linux)は、標準(既存)のリポジトリでは提供していない追記のパッケージを使うことができるものです。
EPELをインストールすることでdnfをインストールできます。
[root@localhost ~]# yum install epel-release
読み込んだプラグイン:fastestmirror
Determining fastest mirrors・・・
図
2.dnfをインストールする
[root@localhost ~]# yum -y install dnf
読み込んだプラグイン:fastestmirror
Loading mirror speeds from cached hostfile
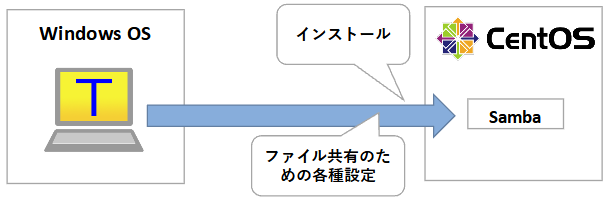
CentOSがファイルサーバとして機能するよう、つまりはWindowsOSからエクスプローラを介してCentOSとファイル共有ができるようにするための設定を行っていきます。
ファイルサーバーを構築するのに利用するアプリケーションは”samba”というパッケージです。
そのためsambaのインストールと、sambaの各種設定を行っていきましょう。
①Sambaのインストール
1. Sambaをインストールします。
[root@localhost ~]# dnf -y install samba
メタデータの期限切れの最終確認: 2:45:19 時間前の 2022年01月23日 11時13分27秒 に 実施しました。
2. インストール後の確認を行います。
[root@localhost ~]# dnf list installed samba*
インストール済みパッケージ
samba.x86_64                              4.14.5-7.el8_5                 @baseos
samba-client-libs.x86_64                  4.14.5-7.el8_5                 @baseos
samba-common.noarch                       4.14.5-7.el8_5                 @baseos
samba-common-libs.x86_64                  4.14.5-7.el8_5                 @baseos
samba-common-tools.x86_64                 4.14.5-7.el8_5                 @baseos
samba-libs.x86_64                         4.14.5-7.el8_5                 @baseos
②Sambaにファイル共有の設定(smb.confの編集)
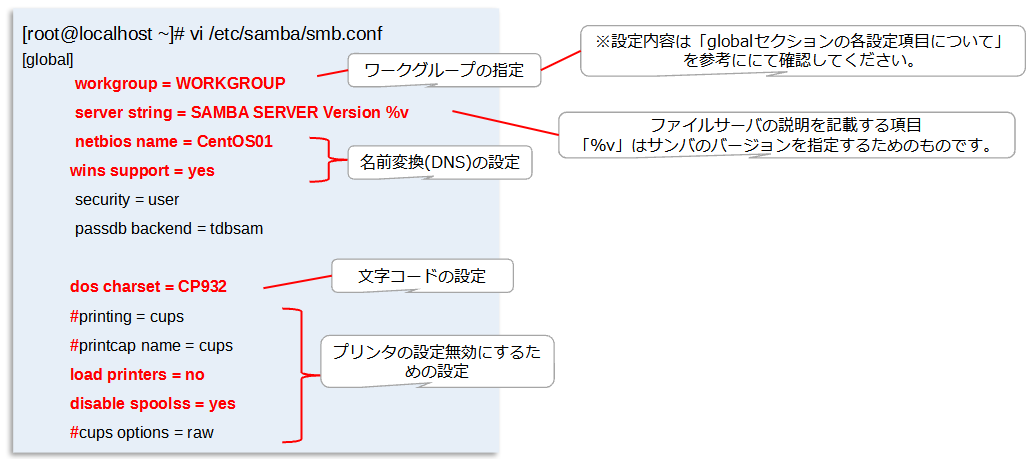
/etc/samba/smb.confを編集します。(globalセクション)
[root@localhost ~]# vi /etc/samba/smb.conf
[global]
	workgroup = WORKGROUP
	server string = SAMBA SERVER Version %v
	netbios name = CentOS01
	wins support = yes
	security = user
	passdb backend = tdbsam

	dos charset = CP932
	#printing = cups
	#printcap name = cups
	load printers = no
	disable spoolss = yes
	#cups options = raw
図
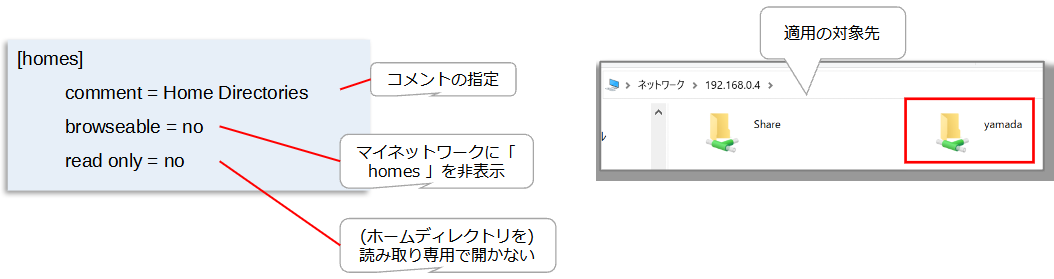
1. /etc/samba/smb.confを編集します。(homeセクション)
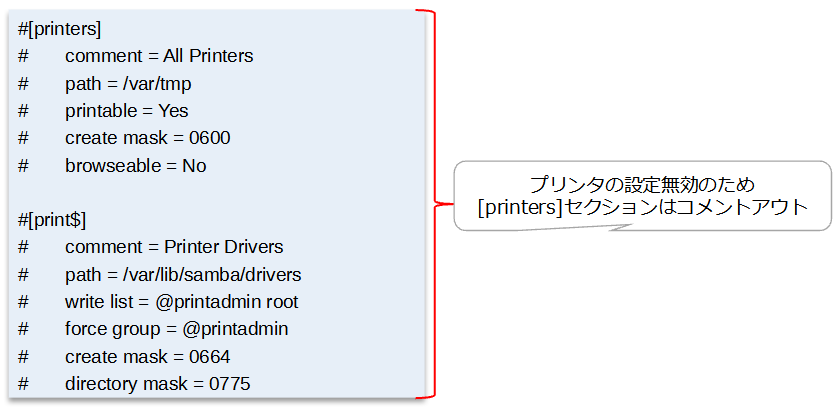
1. /etc/samba/smb.confを編集します。(printersセクション)
#[printers]
#	comment = All Printers
#	path = /var/tmp
#	printable = Yes
#	create mask = 0600
#	browseable = No

#[print$]
#	comment = Printer Drivers
#	path = /var/lib/samba/drivers
#	write list = @printadmin root
#	force group = @printadmin
#	create mask = 0664
#	directory mask = 0775
図
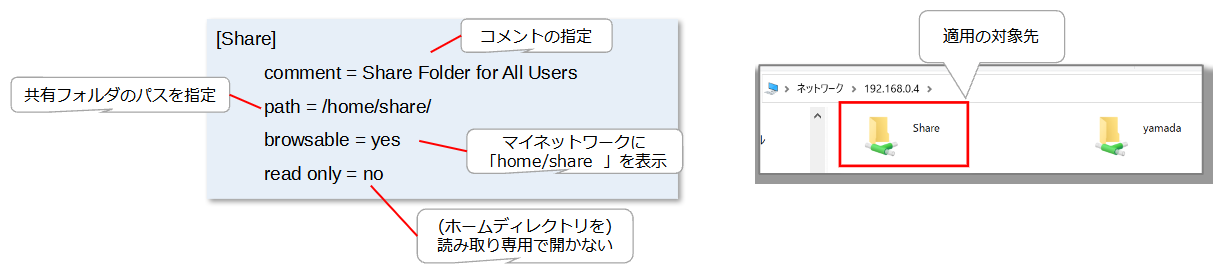
1. /etc/samba/smb.confを編集します。(共有セクション)
[Share]
	comment = Share Folder for All Users
	path = /home/share/
	browsable = yes
	read only = no
図
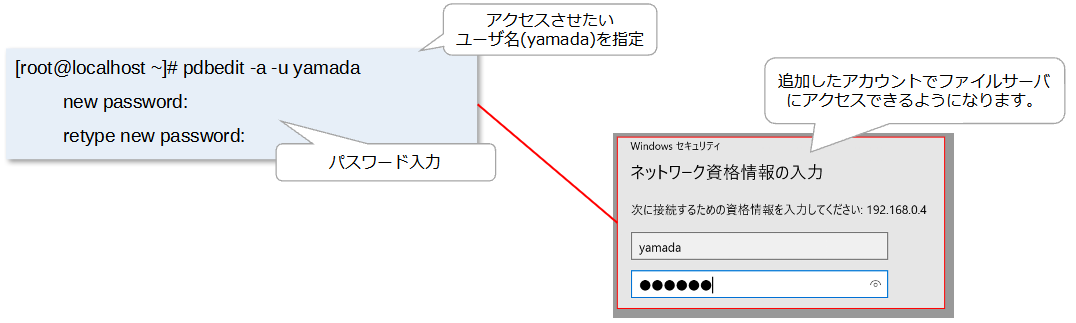
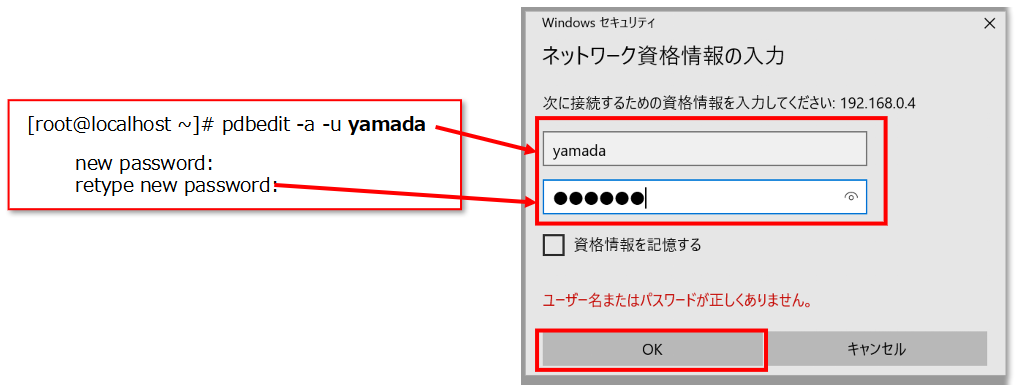
2. ログイン用のアカウントを設定します。
[root@localhost ~]# pdbedit -a -u yamada
	new password:
	retype new password:
図
3. Sambaサービスを再起動します。
[root@localhost ~]# systemctl restart smb nmb
4. Sambaサービスを自動起動の設定 をします。
[root@localhost ~]# systemctl enable smb nmb
5. Shareフォルダを作成し、アクセス権の設定をします。
[root@localhost home]# mkdir /home/share
[root@localhost home]# chmod -R 0777 /home/share
[root@localhost home]# chown -R nobody:nobody /home/share
CentOSへのファイル共有設定が終わったところで、今度は実際にWindowsOSからエクスプローラを介して、
CentOSへアクセスできるのかを確認していきましょう。
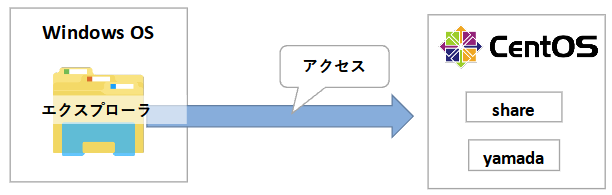
①CentOSへアクセスする
1. PC01のWindows上からファイルアクセスの確認を行います。
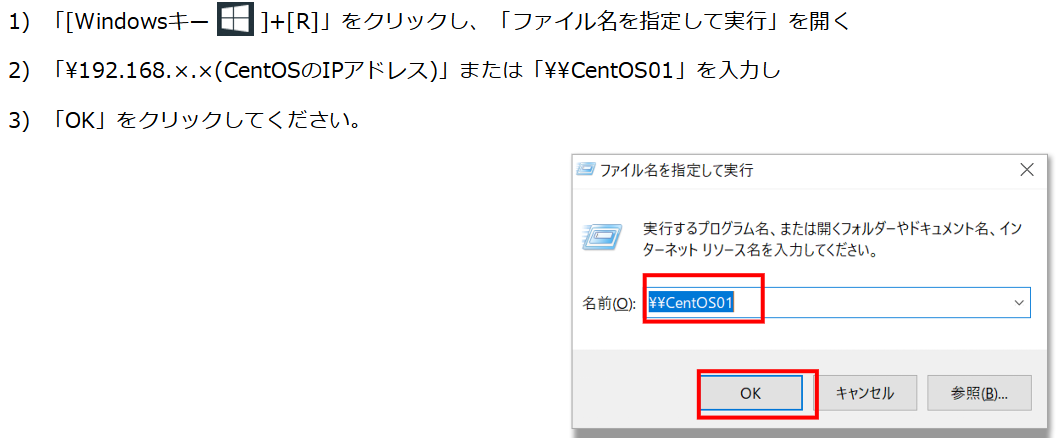
2. ユーザー名、パスワードを入力してOKをクリックします。
「2.ログイン用のアカウントを設定します。」で設定した、「ログイン名」、「パスワード」を入力してください。
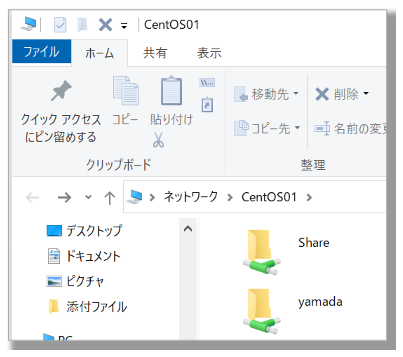
3. エクスプローラを介してCentOSヘの接続確認をします。
右のような画面が開けたらCentOSがファイルサーバとして機能していることがわかります。
②ファイル作成の適用を確認する
続いて
- エクスプローラを介して(ファイルサーバとして)CentOS上にファイルを作成し、
- teratermを介して(SSHサーバとして)CentOS上で作成したファイルを確認します。

②ファイル作成の適用を確認する
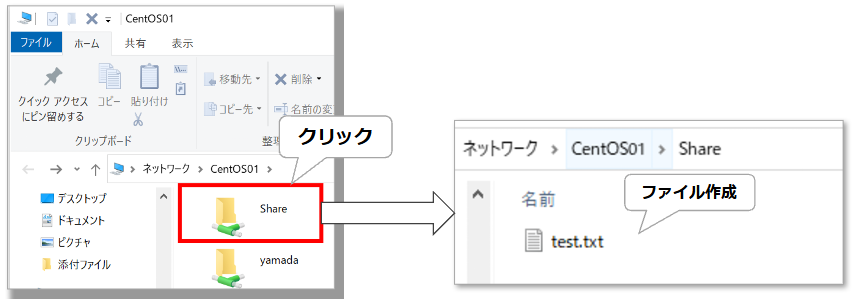
1. エクスプローラを介してCentOS上にファイルの作成
1) Shareフォルダ(/home/share)に移動し、
2) フォルダ上に「text.txt」を新規作成します。
2. teratermを介して(SSHサーバとして)CentOS 上で作成したファイルを確認します。
teratermの画面上で以下コマンドで「 /home/share 」の「text.txt」の存在を確認します。
root@localhost ~]# cd /home/share
new password:
retype new password:
[root@ localhost share]# ls
text.txt
